I haven’t had a chance to work on this hopper that the birthday bunny delivered a few weeks go. I thought today would be a good day seeing as how it’s raining. Started with this really nice covered hopper from Walthers.
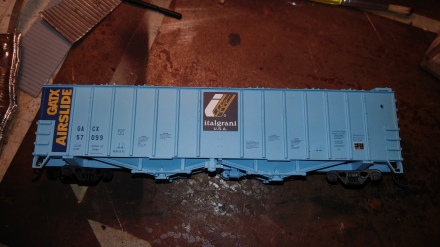
As you can tell, its quite a bright blue. First up, let’s add some depth to those ribs to give them a little pop.

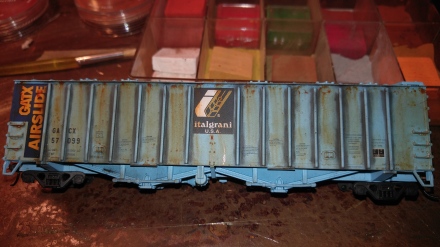
Using a double 0 brush and black weathering powder I brushed both sides of the ribs. Then used a 1″ brush to smooth out the powder and blend it in.
Now time for some rust streaks between the ribs. For those I used some raw umber acrylic artists paint. Dab some at the top of each plate between the ribs, then take a flat brush, dip in water and then almost brush all the water out. Hold the brush on the paint and slowly drag it straight down. Do this several times so it leaves light streaks of rust. I didn’t want a heavily rusted car.
Sides are done, now for the roof. I used a light wash of black and brown to dirty up the roof. While grocery shopping a few weeks ago, the better half found these small baking cups. Good for mixing a small amount of paint. 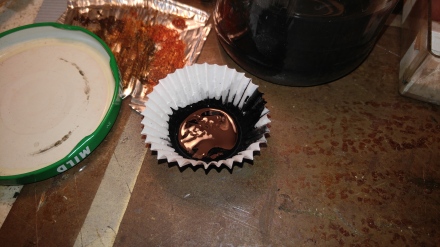
I used oil paints this time so thinned with paint thinner to get a very light wash. After painting all the surfaces, I dabbed them with a clean rag to remove the excess and let it dry.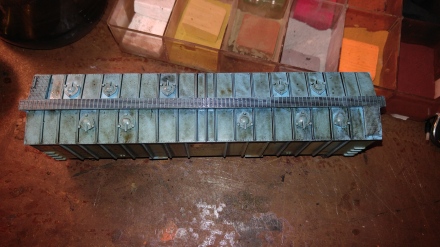
Finished up by doing the same on the ends. I’ll darken the underside, replace the wheels and put it into service.

Part 2?
LikeLike