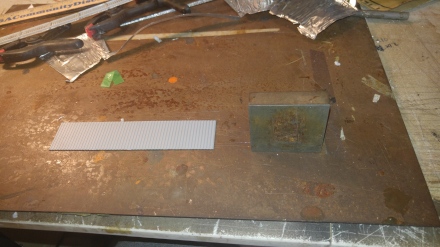
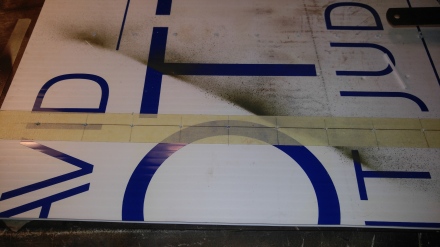
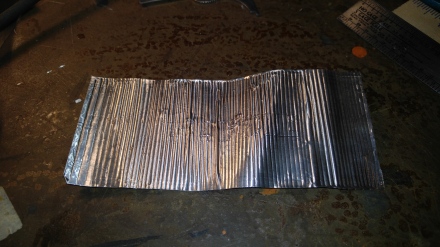
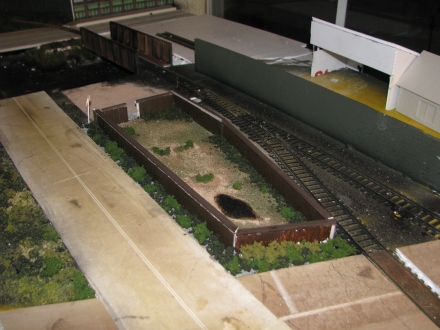
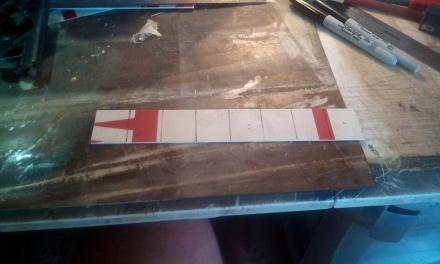
I needed a small bridge to cross over a canal I had cut into the layout. Now I could have gone to my local hobby shop and bought one. But after looking at numerous pictures on the internet it didn’t look like it would be that hard to build. So I grabbed one of my favorite building mediums, that being No Trespassing signs, the kind you can get at your local hardware store for a very cheap price, and began laying out the dimensions.
I decided the best look would be a bridge that was a scale 65′ long and 10′ high.
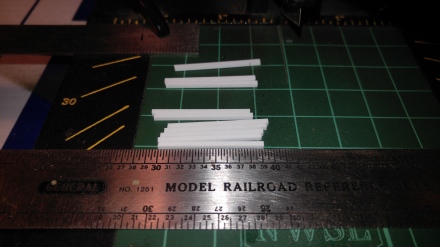
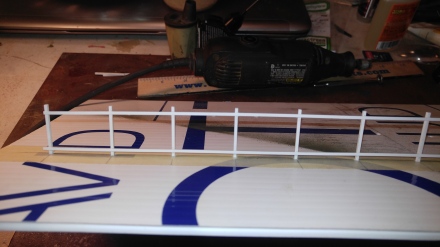
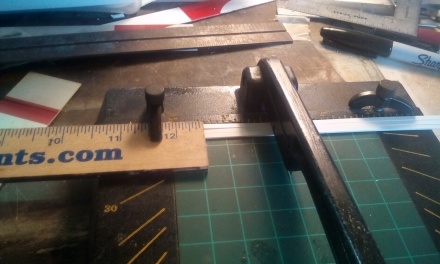
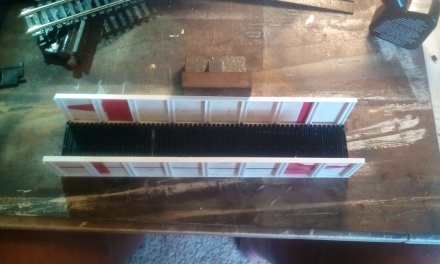
Next I needed to cut the vertical girders to size. Bring out the trusty Chopper, set the length to 10′ and slice pieces of 2″x 6″ styrene to length. Normally I would have used some U channel but I didn’t have any. So 2″x 6″ for the base and 2″x 4″ for the sides of the girders.
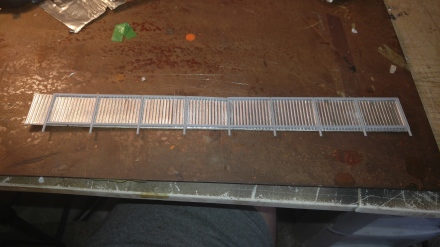
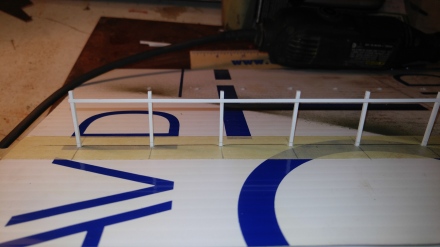
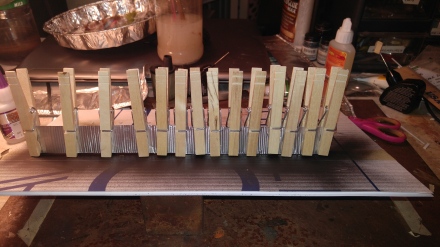
Next, after having drawn the center lines for each vertical brace, I used a little styrene cement and carefully glued the girders to the side plate, making sure they were nice and straight and evenly spaced.
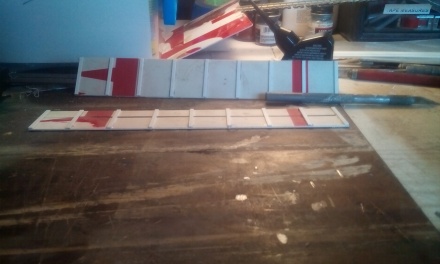
After the flat base part of the girder was dry I added the 2″x 4″ side pieces to make the completed U girder.
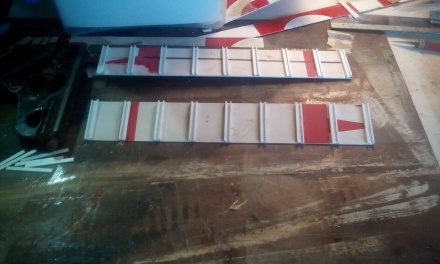
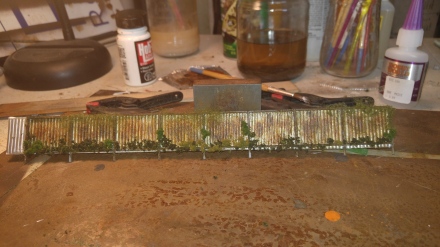
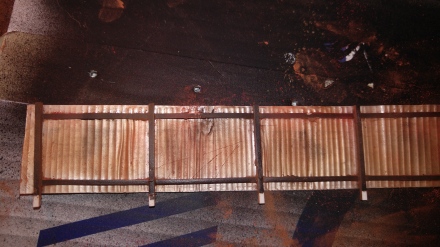
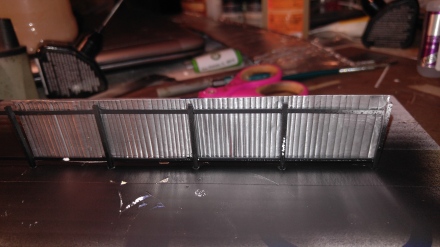
I then added strips of 4″ x 12″ to the top of the bridge plates.
Now it was time to add a base. I had a bridge deck from another bridge kit in my parts box. So I cut that to length and started to glue the side plates to the bridge deck. I quickly discovered that the width of the deck was a little narrower than what I liked.
And since the train was just coming off a curve when it enters the bridge, I decided to add a small walkway to the side of the deck to make it a little wider and allow a crew member to disembark from the locomotive to flag the grade crossing. Got to always consider the crew, you know.

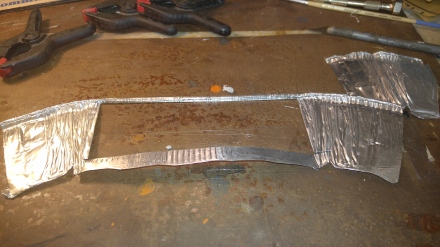
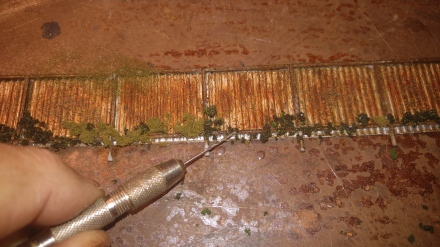
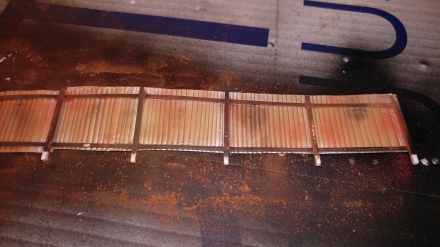
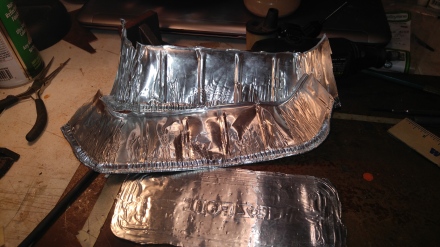
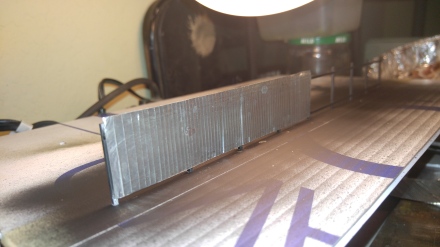
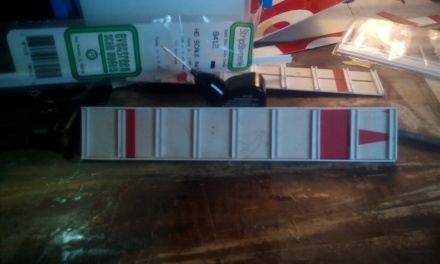
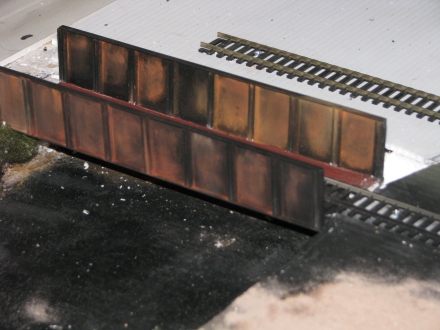
Once everything was dry and ready to be handled, it was time for weathering. I had just bought some Pan Pastels and figured this would be a good project to try them on. I used Burnt Sienna, Red Iron Oxide and Raw Umber to create the rust effects on the sides with a bit of black powder on the edges.
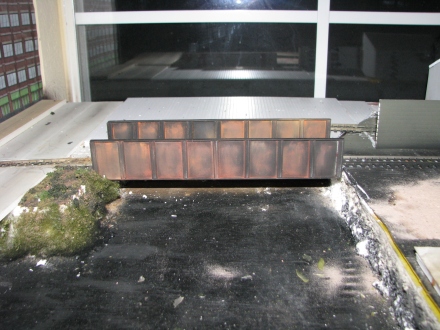
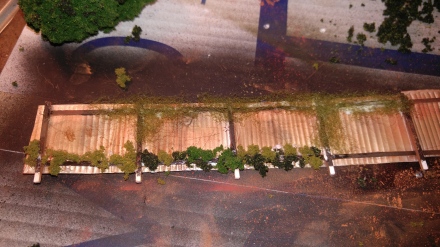
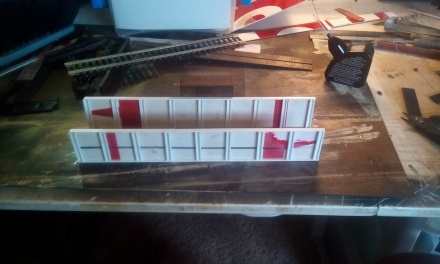
One thing I may still have to do, carefully, is round the ends a bit as they are a little too square. But overall I do like the look. Need to add a couple of bridge supports underneath each end and really that will about finish that project. The water under the bridge will wait for another day.